Ever wanted to try and make a homemade cribbage board?
This is a step by step guide to making a personalized board for you, family, friends, or your customers!
There is a video on YouTube here if you would rather watch that.
This post may include affiliate links
Tools List
- Chop Saw
- Table Saw
- Shapeoko 4 CNC Machine
- Orbital Sander
- Sand Paper
- Polyurethane Finish
- Cribbage Pegs
- Deck of Cards
Step One
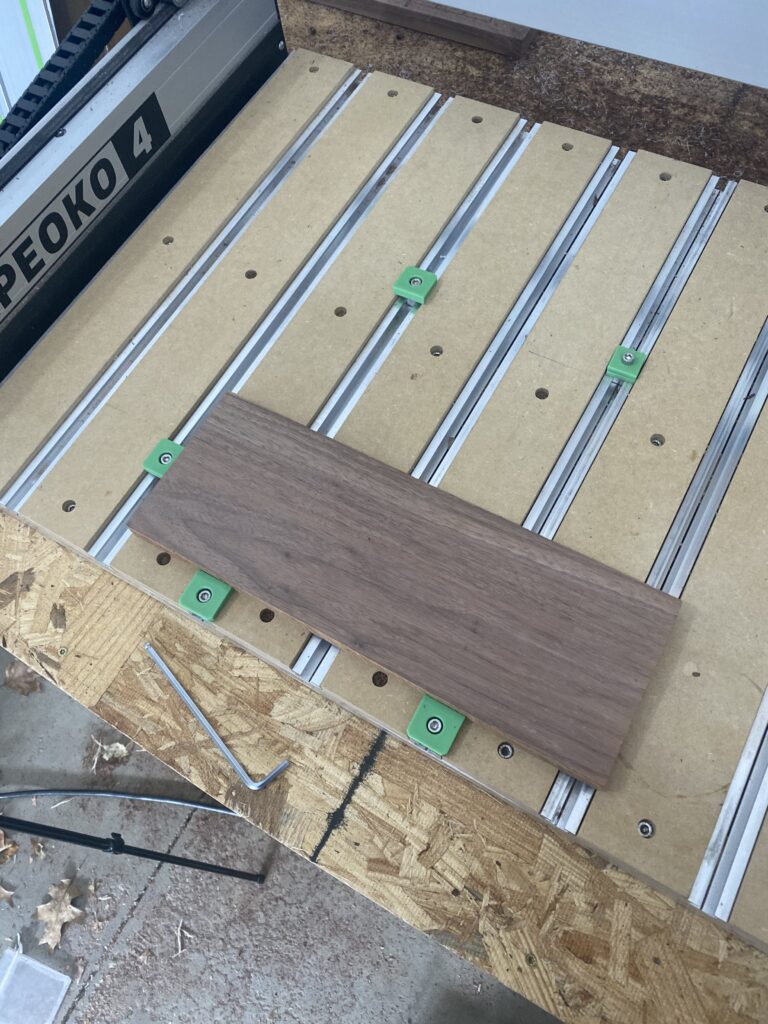
Finding a piece of wood to your liking. In this example, we are using some black walnut milled and dried by 612 Milling. The dimensions we use for our program is 15.5″ long, 5″ wide and .75″ thick. Acquire the wood type you want to use, and get it cut/planned down to those thicknesses.
Step Two
Set up your Shapeoko/Carbide Create design. We used a shapeoko 4 in this project otherwise you can hand drill or use a drill press to get the holes.
We have a link available to the Carbide Create files we use for this project.
Step Three
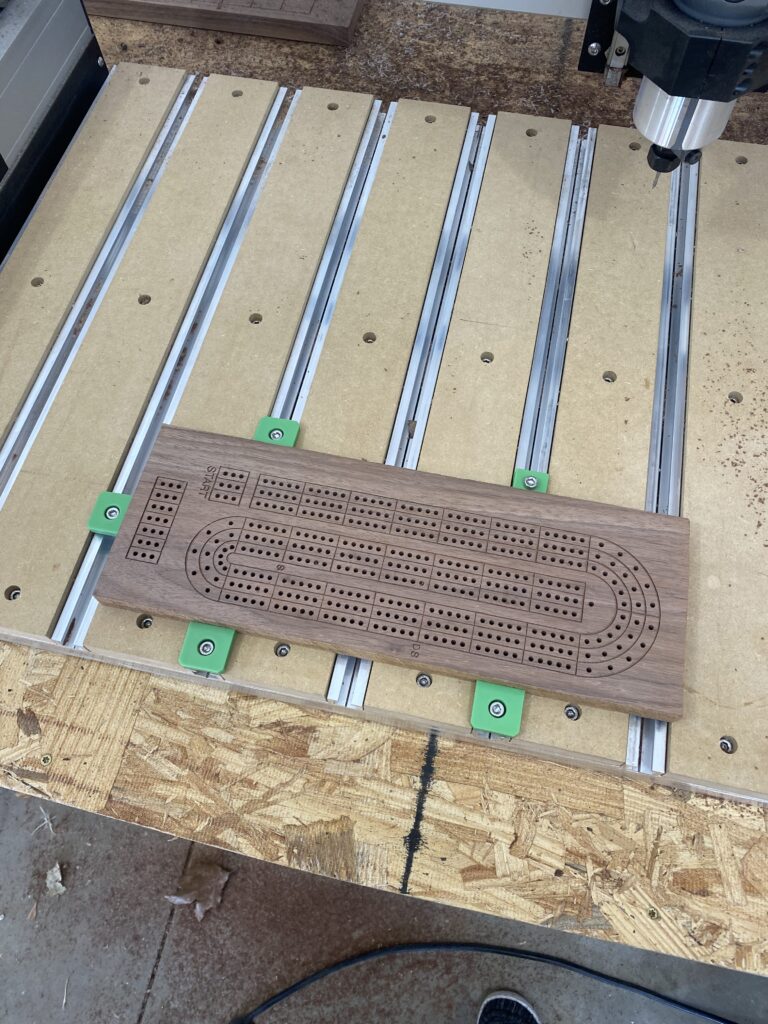
We are using lines/outlines to make a cleaner, more modern look to the boards so we start cutting with that first. It utilizes a 1/32″ bit. After those lines are cut, we switch to a 1/8″ bit to drill the holes. On the Shapeoko, it takes around 45 minutes to complete the holes and lines.
Step Four
Sanding a finishing. Start with cleaning out any wood chips or shavings out of the holes and lines. Then on to sanding. I tend to start with a 40 grit Festool Sandpaper, and gradually making my way up to a 220 or 400 grit. Once you get to the desired smoothness, add your finish. I usually like to use a spray on polyurethane. To me, it leaves a nice finish without plugging the peg holes.
Step Five
After the polyurethane has cured, admire your work and play your first round of Cribbage! We like to get our pegs and cards off of Amazon but if you have a lathe, you can turn your own pegs!
Enjoy your new board and let us know the results!!
Make sure to follow us on Instagram and Facebook!!