Ready to create a beautiful, easy wood cookie coffee table? I will take you step by step how to created this one. In total this project took me around an hour to create with the longest time being the sanding.
This article may include affiliate links.
Tools and Materials
- Circular Saw
- Orbital Sander
- Sand Paper
- Router
- Router Bit
- Hairpin Legs
- Polyurethane
- Wood Slab/Cookie
Step 1: Finding the Right Log

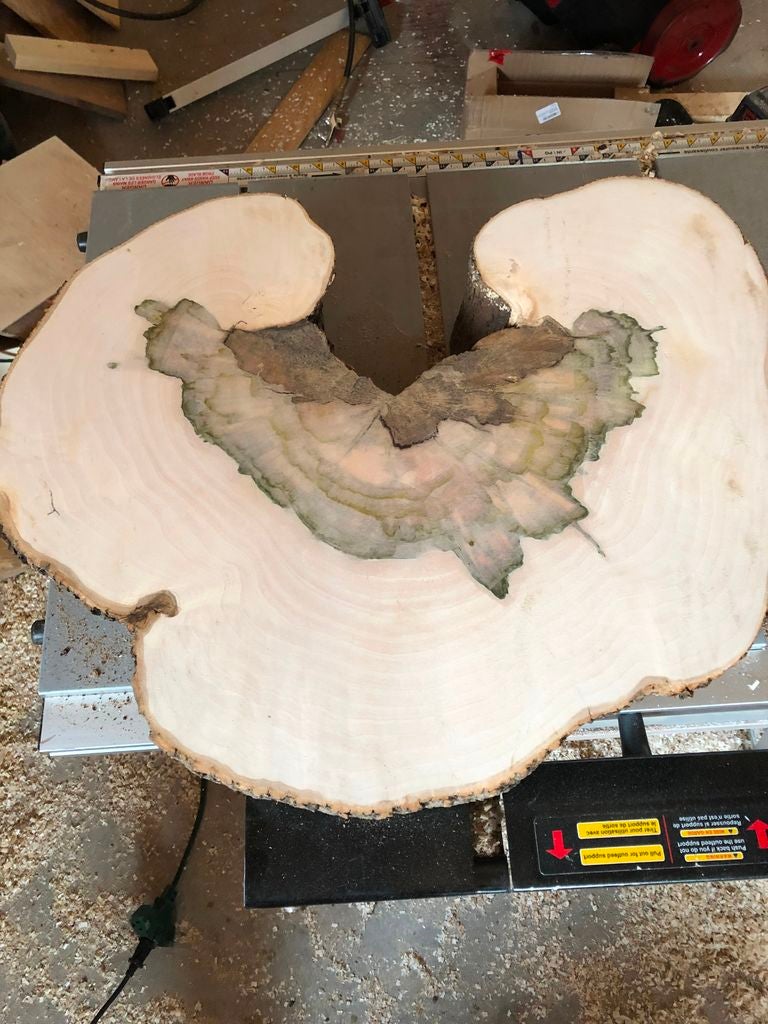
Awhile back, a company came through and took a bunch of my neighbors big, mature trees in their backyards. Unfortunately, many of them were not happy and filled complaints to the city because of the hassle of the workers and the loses of their big trees. Their loss, my gain. I talked to the works and asked if I can take some logs off their hands, and they were fine with it. I took this log because it had a different, unique design and character to it. I decided this was the log I was going to use for this project.
I took my chainsaw to this log trying to make the straightest cut possible. I knew it did not have to be perfect since I was going to plane it down using a Router jig I made. I cut it around 2″-2.5″ thick leaving room to plane it down.
Step 2: Planing and Sanding (Lots of Sanding)
I hope you don’t mind sanding. Like any project there will always being sanding down, but first we need to flatten it out by planning it down. If you do not have a large enough planner, I created by own Router planning jig using some scrap wood. Here is a link to a simple jig for cheap https://www.youtube.com/watch?v=Q0H1C3AiFrw . I used a 1″ router bit, but you can use a larger one or smaller one. If you use a smaller one it will obviously take longer.
After routering both sides of the cookie, there were still some line from the Router. This will easily be taken off with the Sand Paper.
Now on to the endless sanding. I started out using 60 grit, then moved up to 220 grit, to 400 grit, then finishing it off with 1000 grit for a nice smooth finish.
Step 3: Finishing and Adding the Legs
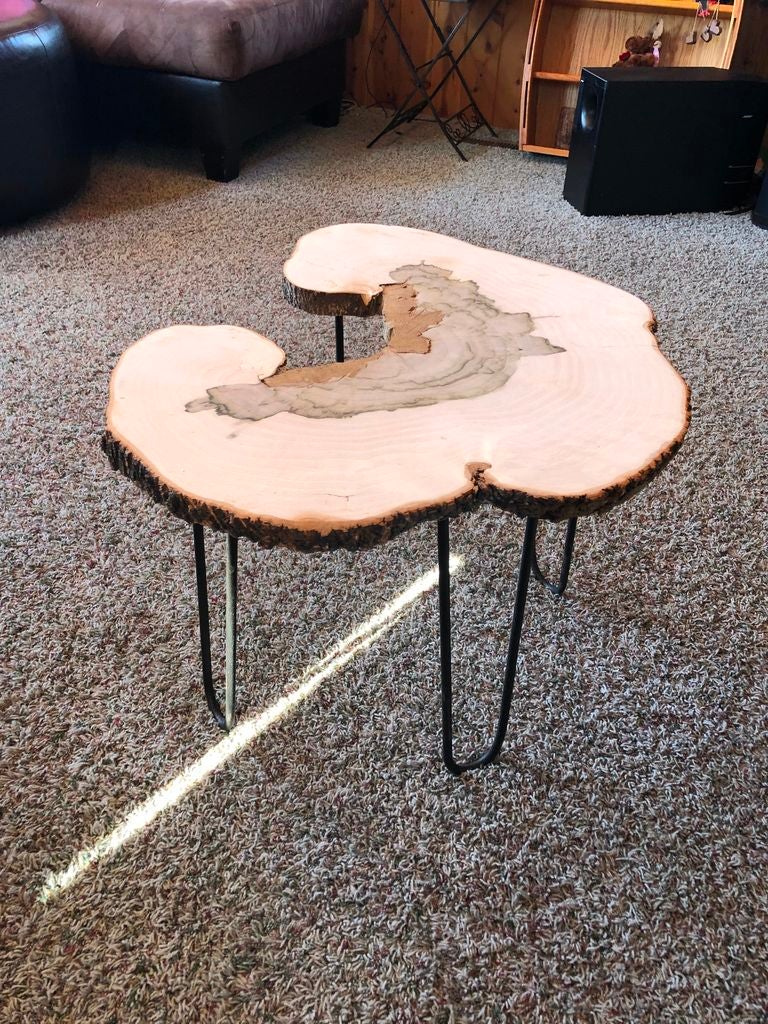
After sanding it down to 1000 grit, I applied a Walrus Oil After the finish, draw out where you want the legs and screw them in. Make sure the cookie is as flat as possible to get the best results. Enjoy the beautiful masterpiece you made. It will be the talk of your house!
If you have any questions or comments, please let me know!